Holder Designer Wizard
This wizard is built to help you design a holder / wall mount for a power brick. The default behavior is to design for a vertical mount of the brick, preferably with the power input cable on the bottom. For more information on how to make these measurements, click on the details below.
Measurement Details
Please note the following:
- The preferred unit of measure when it comes to these dimensions is millimeters. If you measure in Inches, you can input the value of the measurement on the appropriate box and it will be automatically converted in millimeters rounded to the closest one.
- The width and depth dimensions will both get an extra millimeter added to them to add a tollerance to the measurement. If the holder was designed to fit your brick exactly, the brick would actually not fit or be extremely tight. Hence some tollerance is needed.
- The height of the holder will be designed to be half of the height of the brick. That is in order to save on material and not restrict too much the brick’s contact with the air.
b185eb27d4

Width
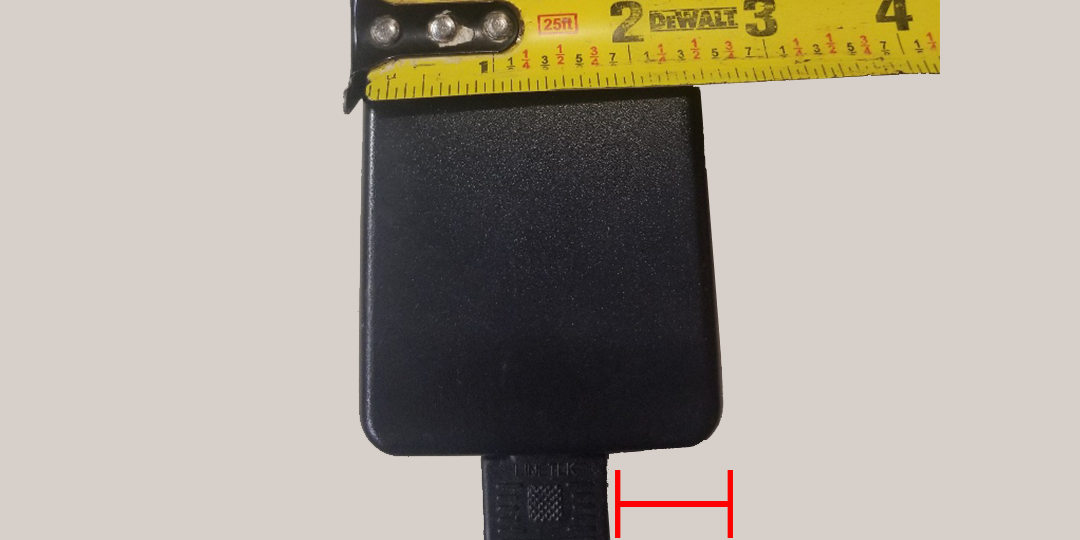
Please enter the width of the power brick. As pictured, please make sure that the measurements are accute with a tape measure or caliper.

Depth
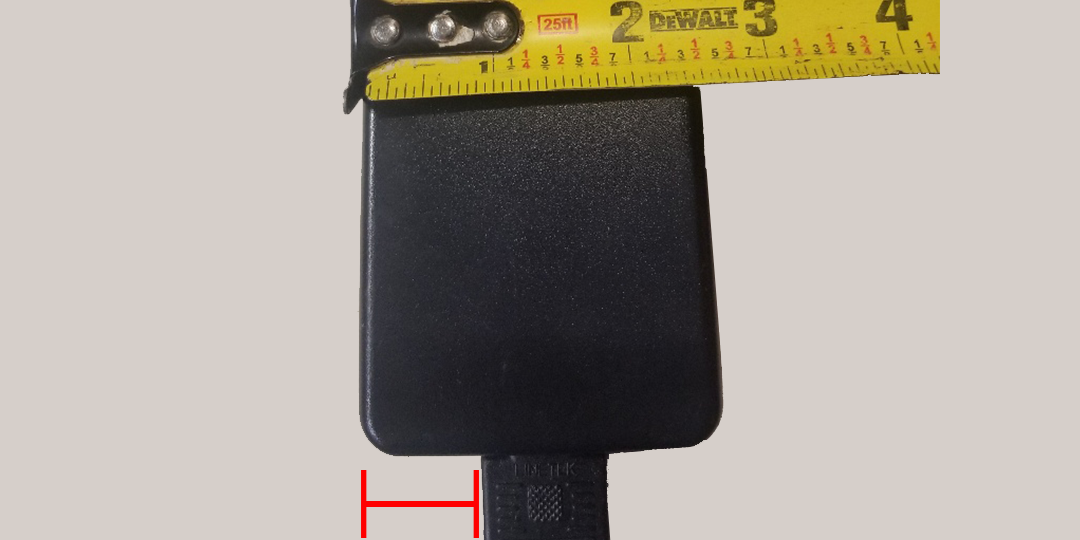
Please enter the depth of the power brick. As pictured, please make sure that if there are “feet” at the bottom of the brick, you take them into account. Best practice is to place the brick flat on a table and measure from the table to the top of the brick (as pictured)

Height
Please enter the height of the power brick. This is not a crucial measurement for vertical mounts as some degree of error is acceptable.
Please note that the height of the holder generated for this brick will be half the height of the brick itself. That is for many reasons (saving plastic, allowing for more air flow etc).
A typical brick holder design assumes the brick will be mounted with the input power (thick cable) on the bottom. That orientation should make it more stable as there will be less pull that way. However, you can design your holder however you want.
Left “flap”
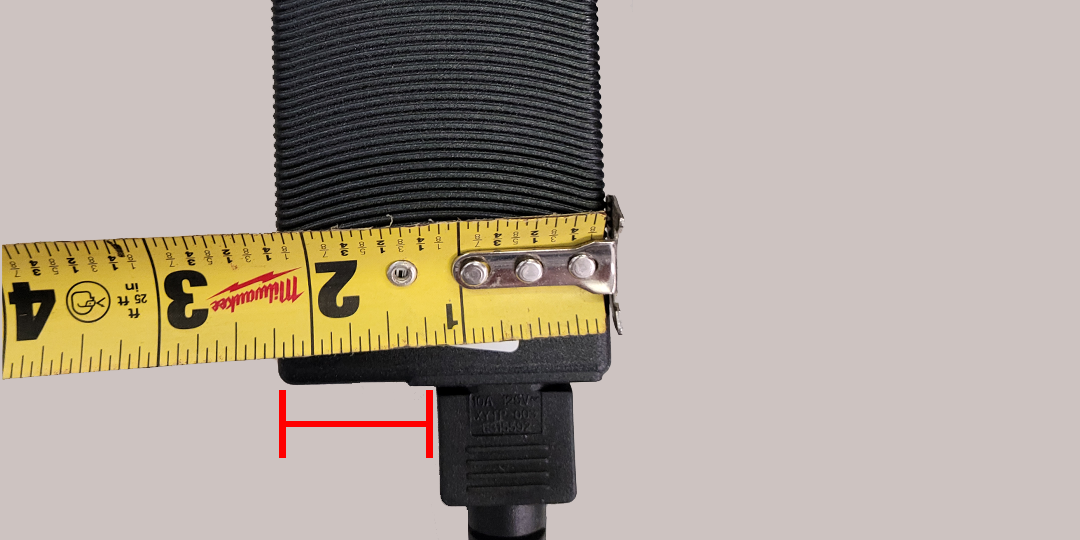
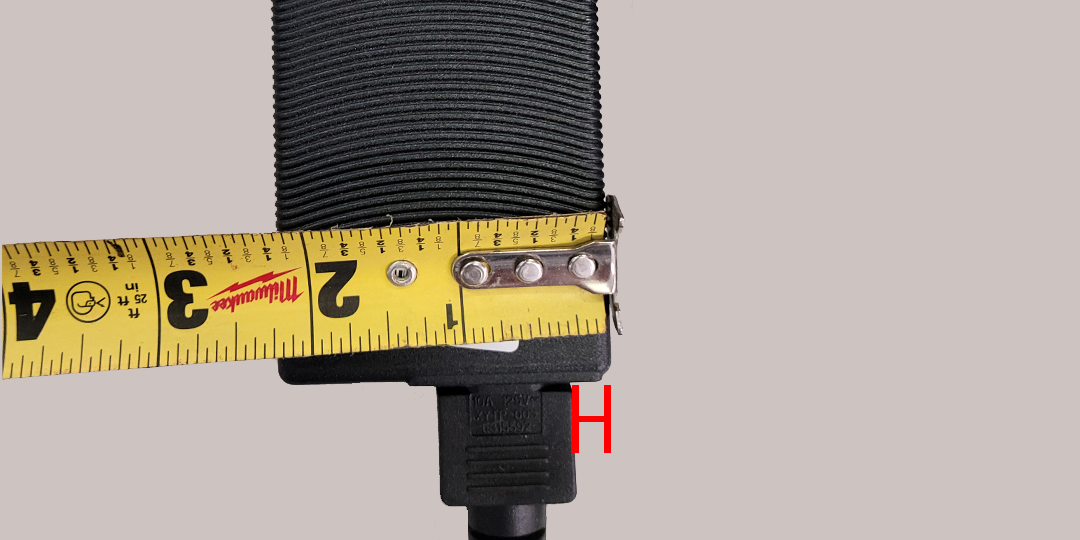
As the holder will be placed vertically, please enter how big the left “flap” or “arm” should be. This should be a smaller number than the distance between the left edge of the brick and the left-most edge of the power plug protruding from the bottom.
Right “flap”
Conversely, please enter how big the right “flap” or “arm” should be. This should be a smaller number than the distance between the right edge of the brick and the right-most edge of the power plug protruding from the bottom.
The two “flap” dimensions as entered seem to be overwhelming the width of the holder or both exceed ~1/2″ at the same time. This may be an indicator that they are too big. It is recommended that they don’t exceed ~1/2″ or so if it is not necessary. That is for many reasons (better cooling, enough space for your power cable etc). This is not critical and you can proceed if you like but it’s not advisable.